In this post, I will describe all my setup for jekylll minimal mistake blog site, it took me a night to figure out what happened in this blog.
Following docs in Minimal Mistake Theme
-
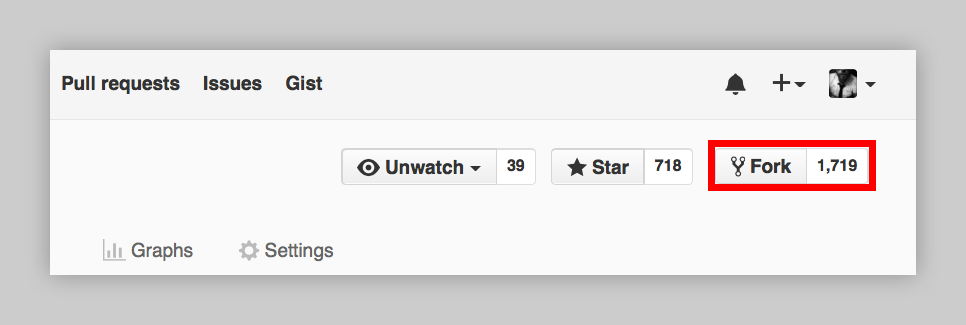
Step 1: Fork the Minimal Mistake Theme, then rename the repo to USERNAME.github.io with USERNAME is your username of github account.
Do this step, you will create your repo name USERNAME.github.io that cloning all setups, including themes, layouts and let Github deploy your blog project in a certain hostname “USERNAME.github.io”.
-
Step 2: Setting up your page by editting _config.yaml file. Just follow and edit some properties you find interesing in Configuration.
-
Step 3: Setting your own sitemap
First changing your navigation in header in your site by editting _data/navigation.yml file. I would like to have 6 pages: Blog, Reading, Article, Project, Miscellaneous, FAQs.
# main links main: - title: "Home" url: / - title: "Blog" url: /blog/ - title: "Reading" url: /reading/ - title: "Article" url: /article/ - title: "Project" url: /project/ - title: "Miscellaneous" url: /misc/ - title: "FAQs" url: /faqs/ -
Step 4: Creating your pages
Create a new folder name _pages, in _pages folder


Leave a comment